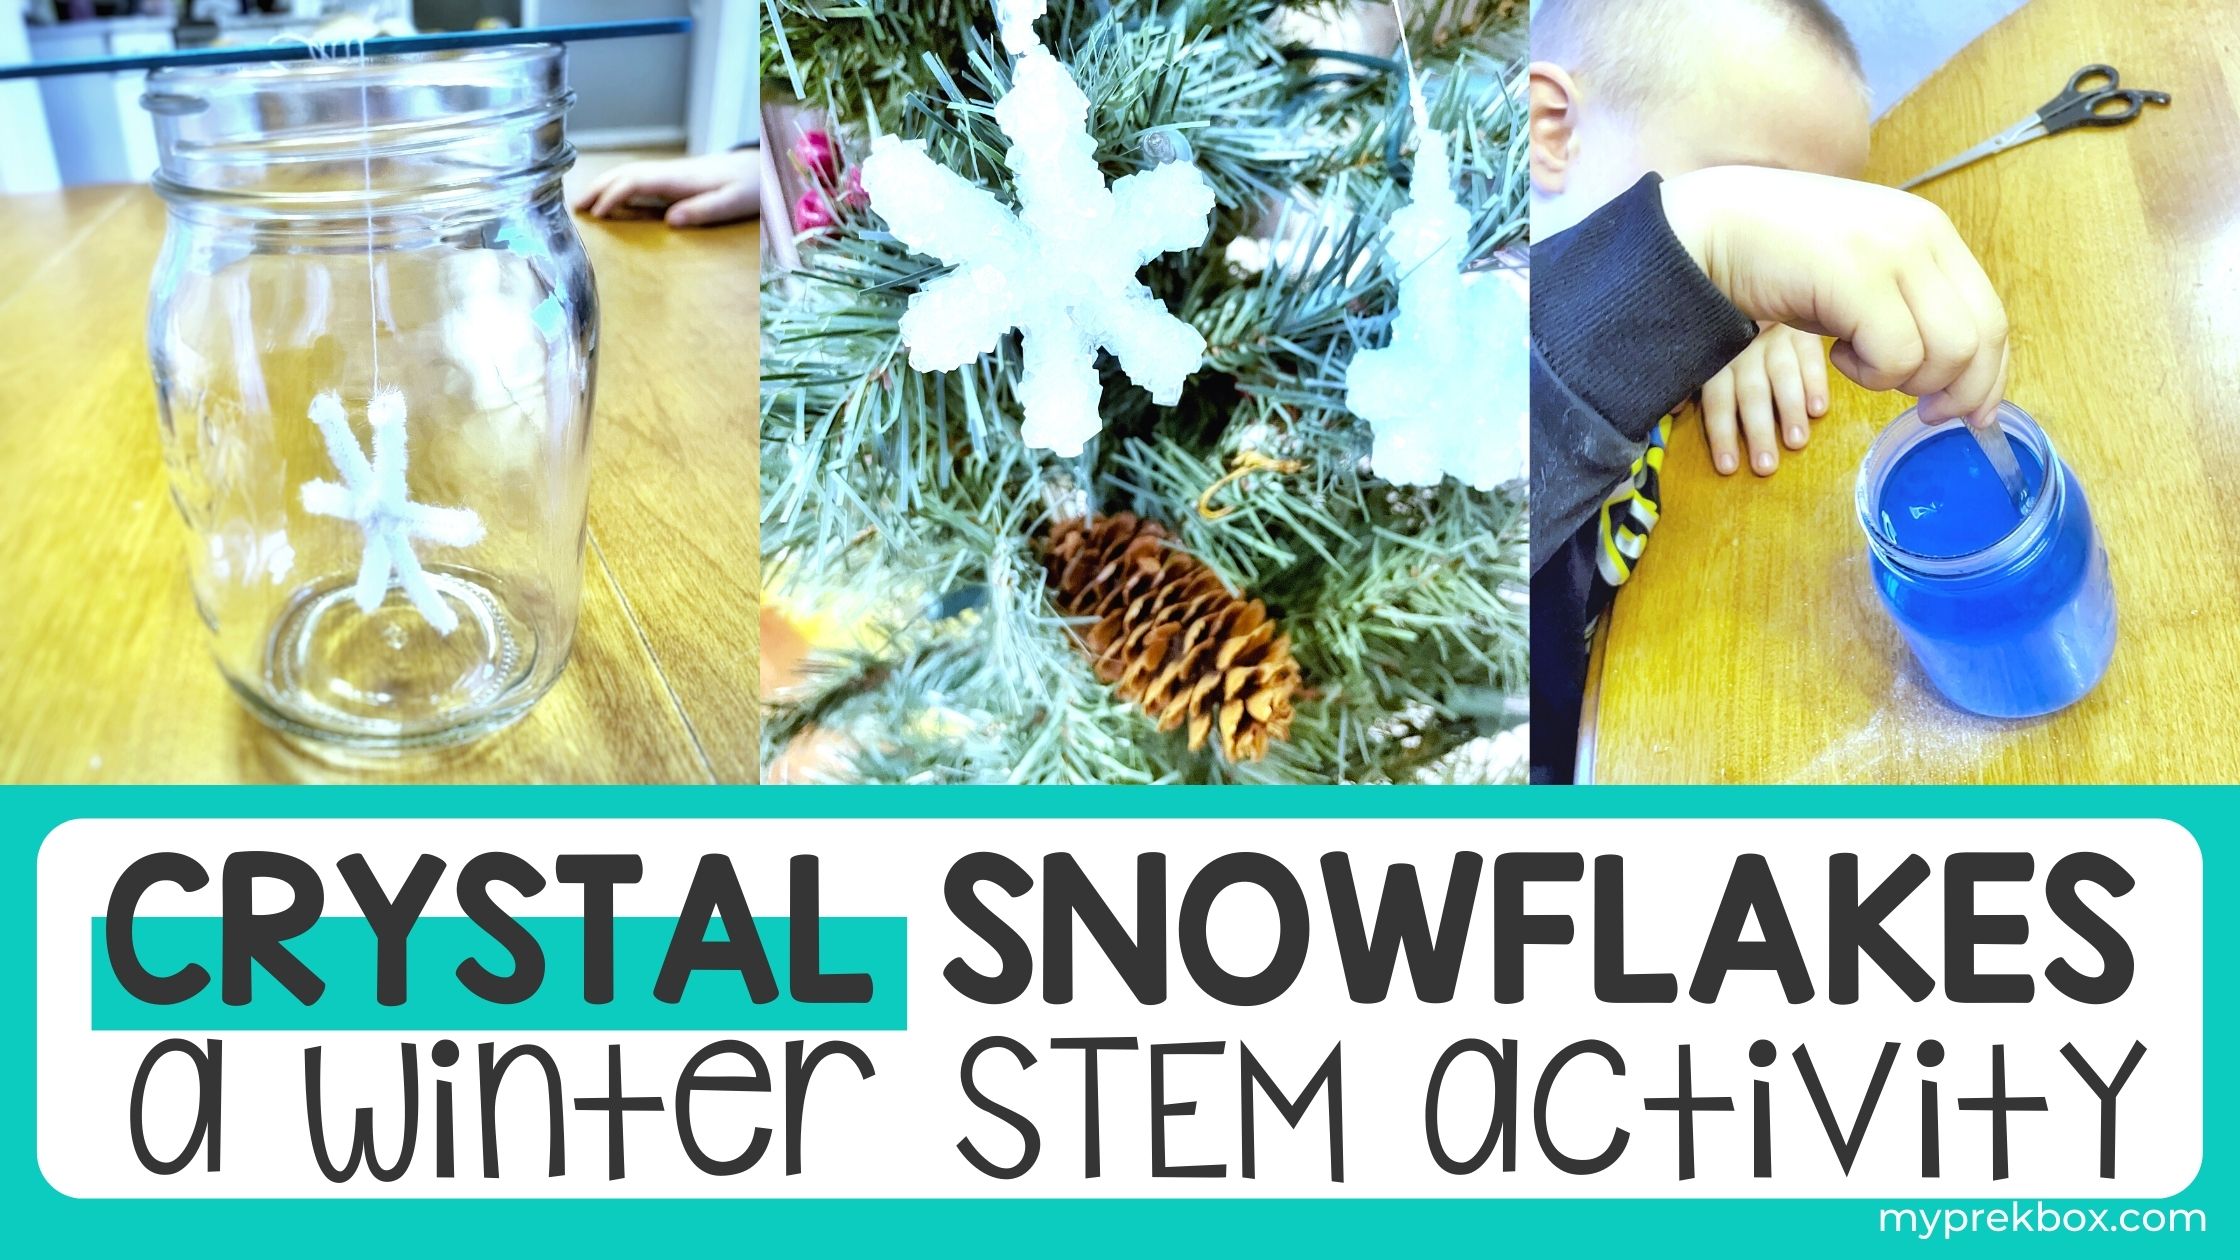
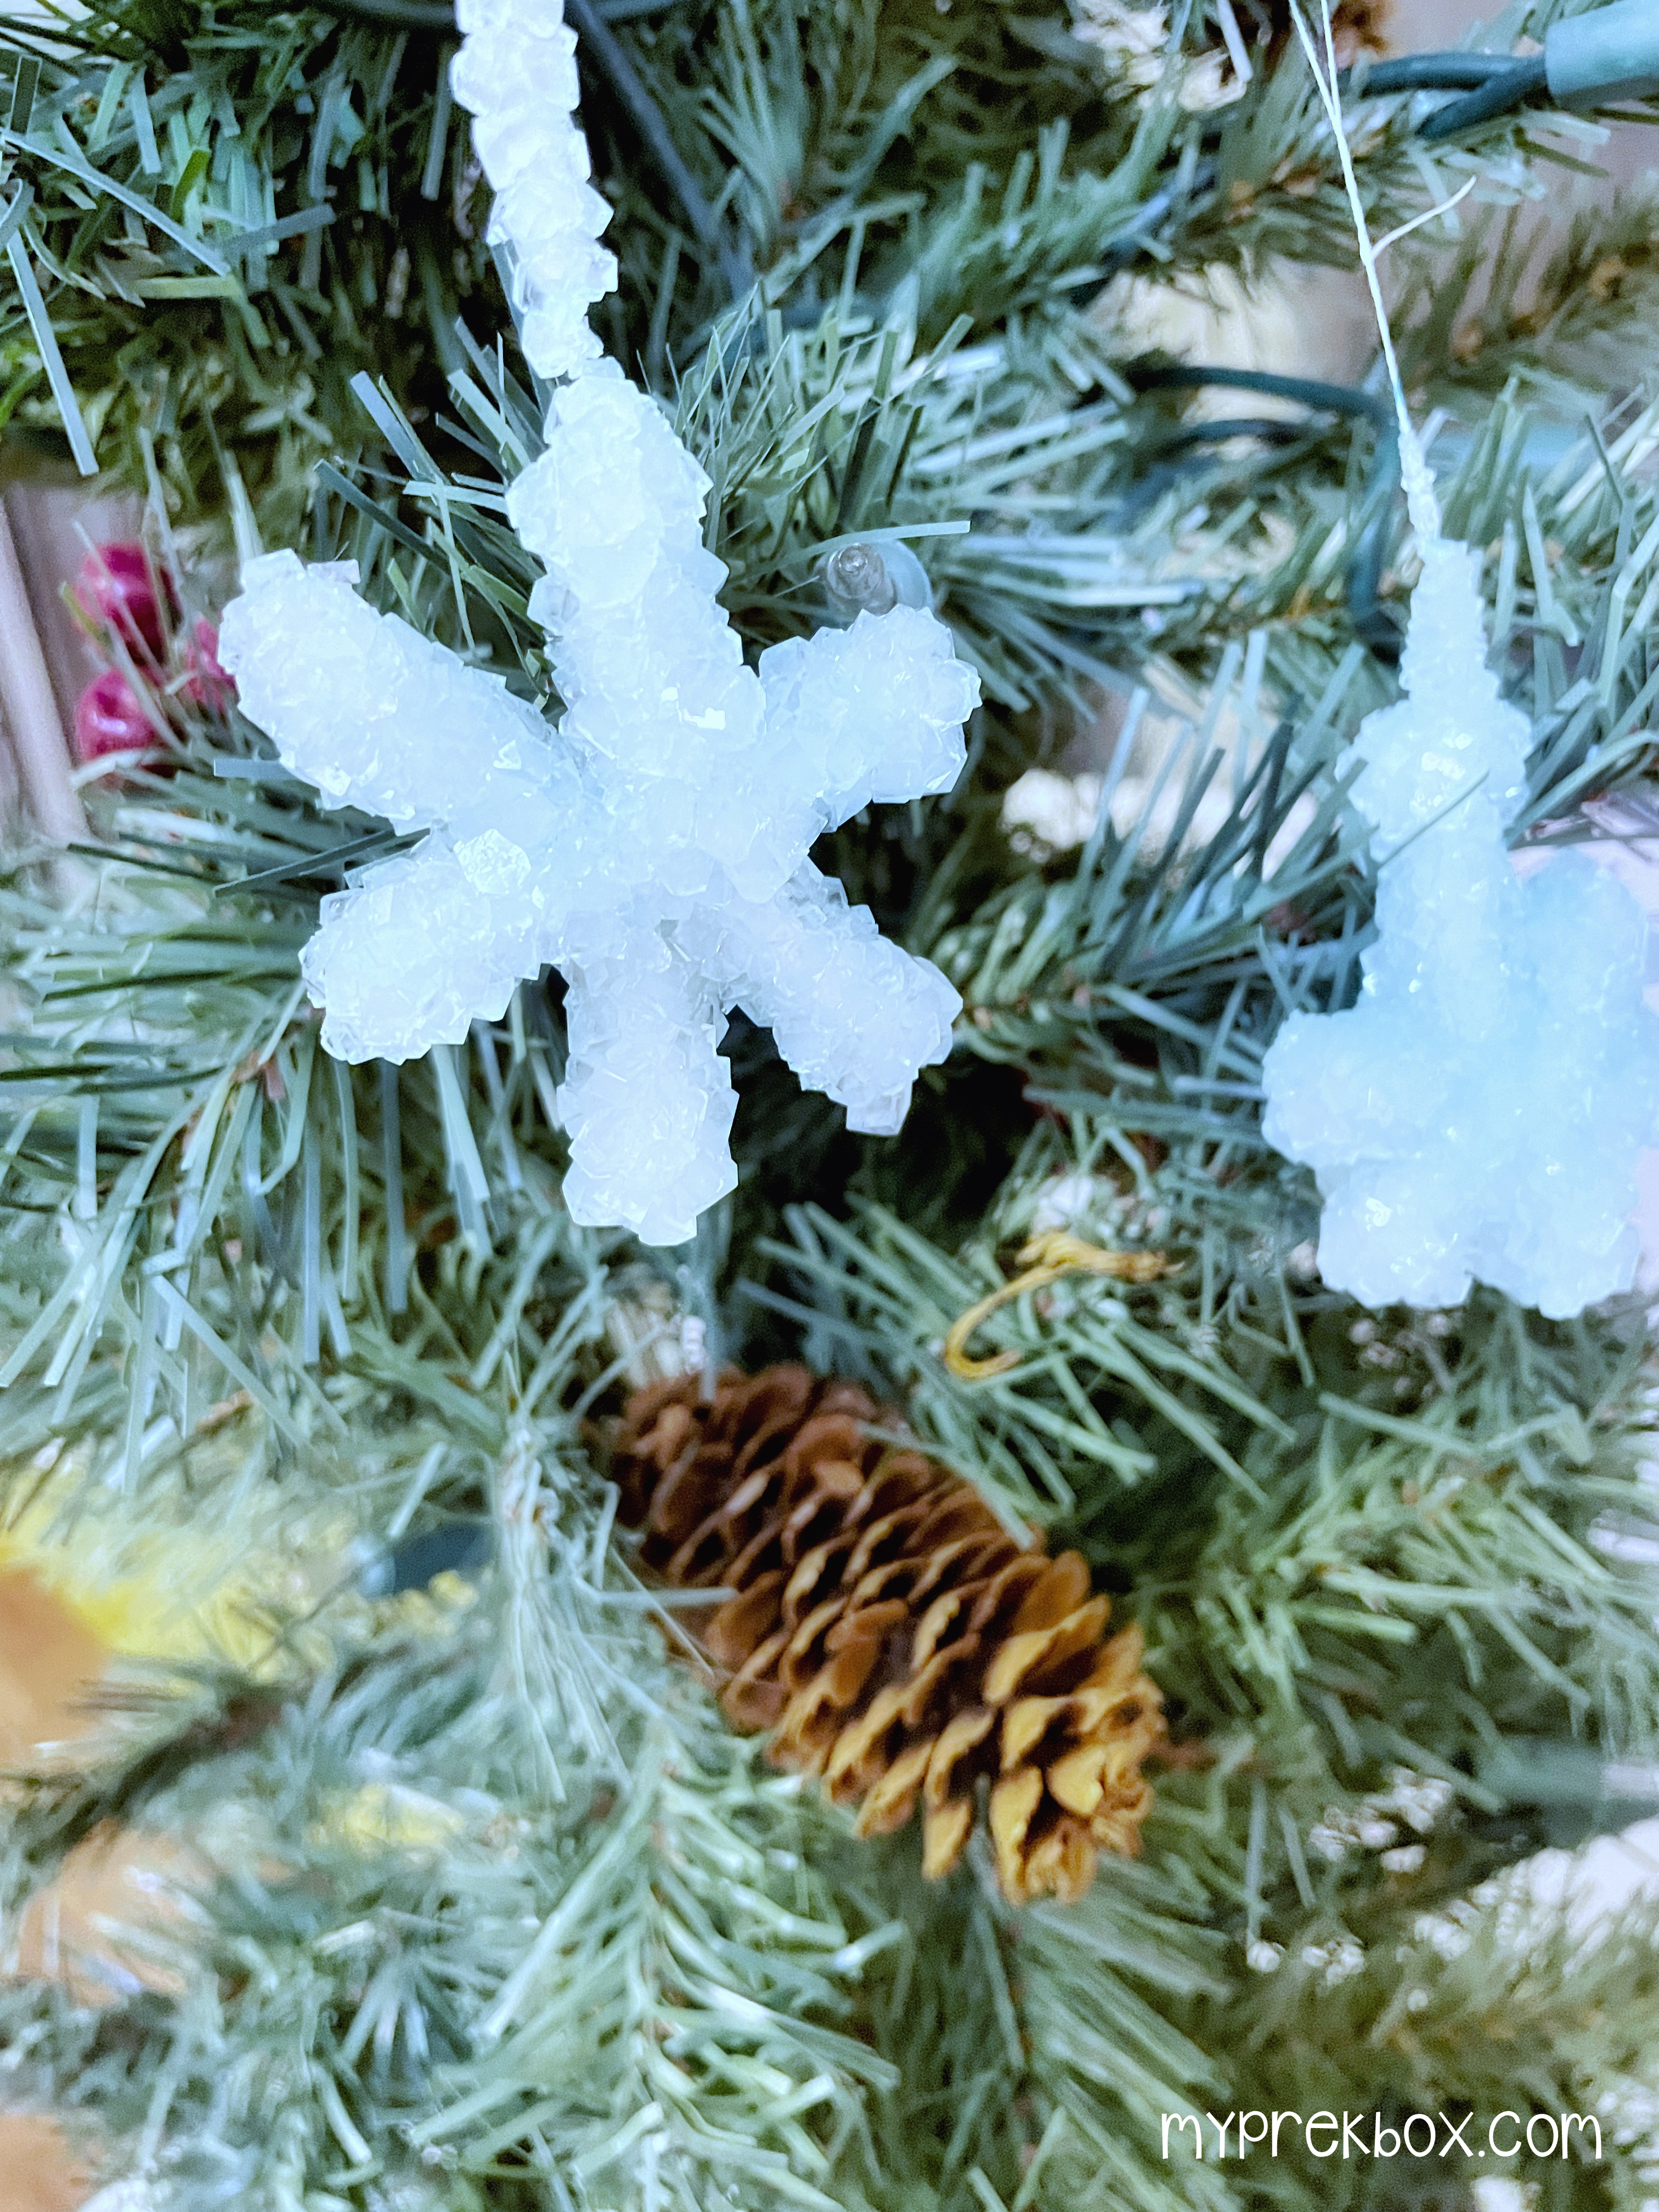
Are you looking for a fun winter science experiment to do at home with your toddler or preschooler? Try growing your own crystal snowflakes! It's the perfect winter science experiment for kids! After you make your crystal snowflake, turn it into a beautiful ornament to decorate your Christmas tree! We think you'll love this fun wintery STEM activity!
My Pre-K Box: The best monthly subscription box for kids ages 3-5
My Pre-K Box is an educational subscription box for preschoolers filled with different learning activities for math and literacy skills! With fresh new themes each month, your child will delight in all of the fun, play-based learning activities inside! Prepped and delivered straight to your door, My Pre-K Box is so much fun, your child might not even realize how much they're learning!
Get Our Free Snow Preschool Fun Pack!
Get The FREE Snow-Themed Worksheets Now!
Crystal Snowflakes Science Experiment
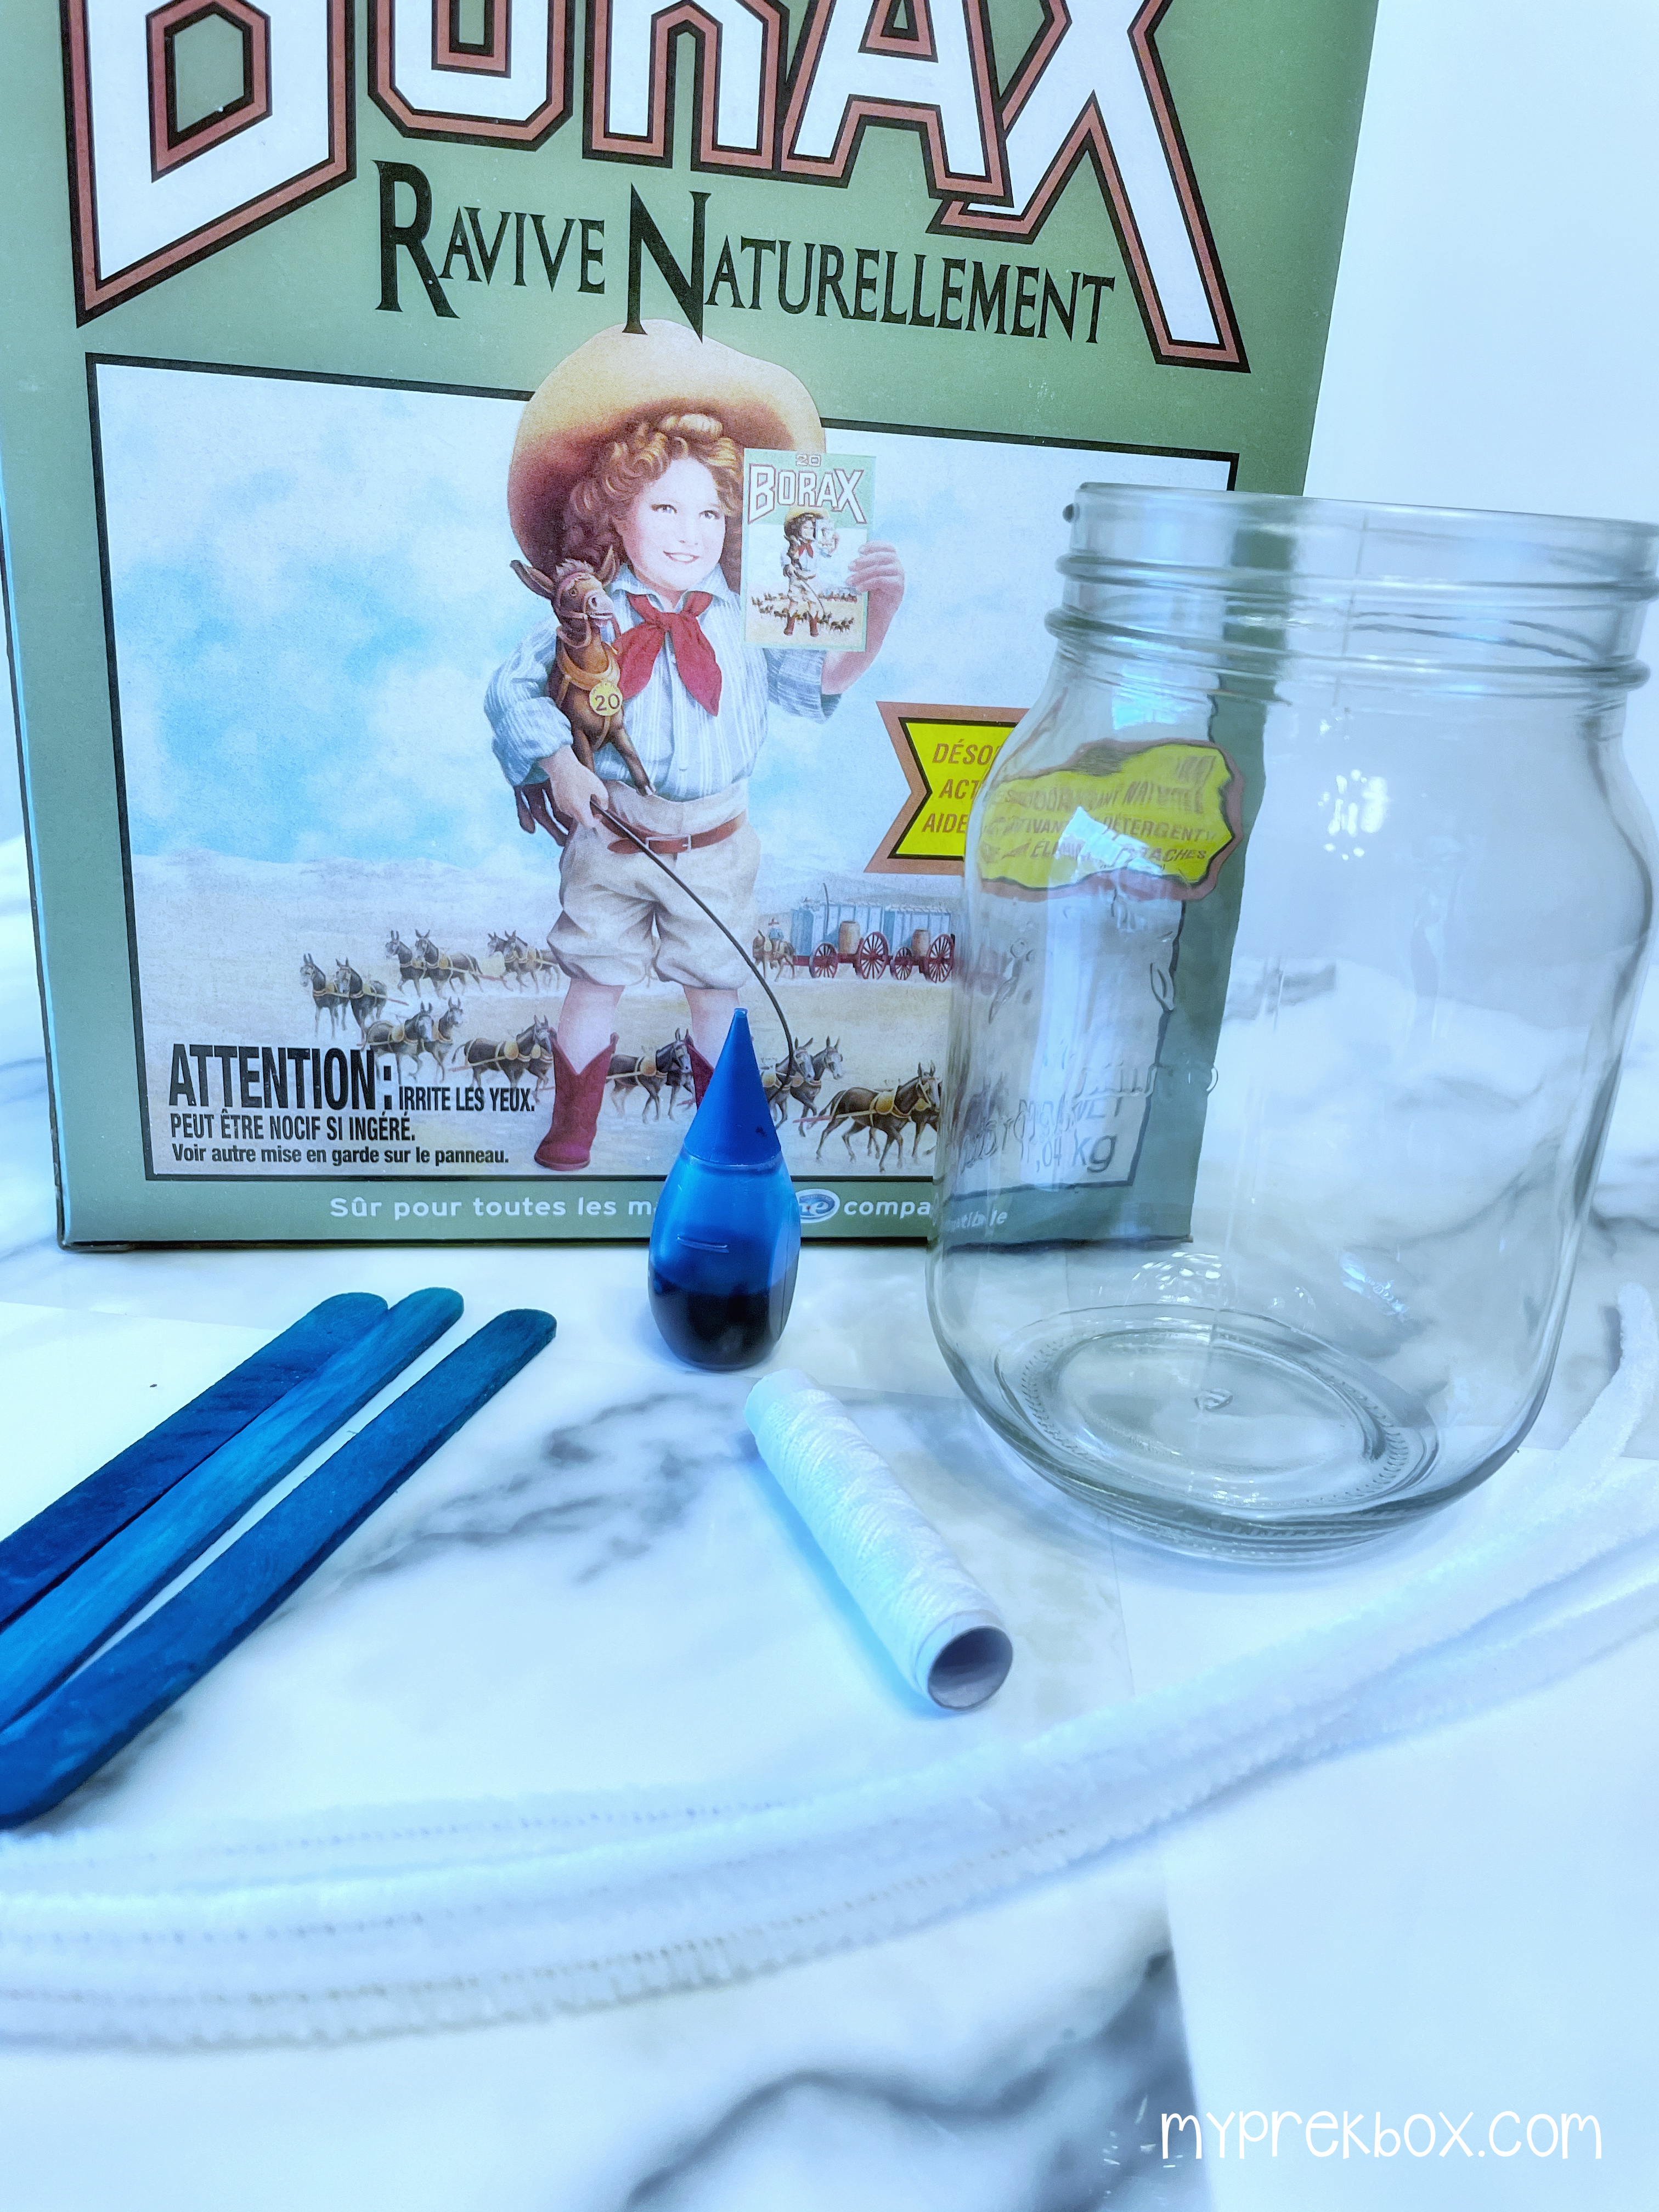
Step 1 Gather supplies together
- White pipe cleaners
- 500ml jars
- Popsicle sticks or pencils
- Old scissors or wire cutters
- String
- Boiling water
- Food coloring (optional)
- Borax
Step 2 Create your snowflake shapes
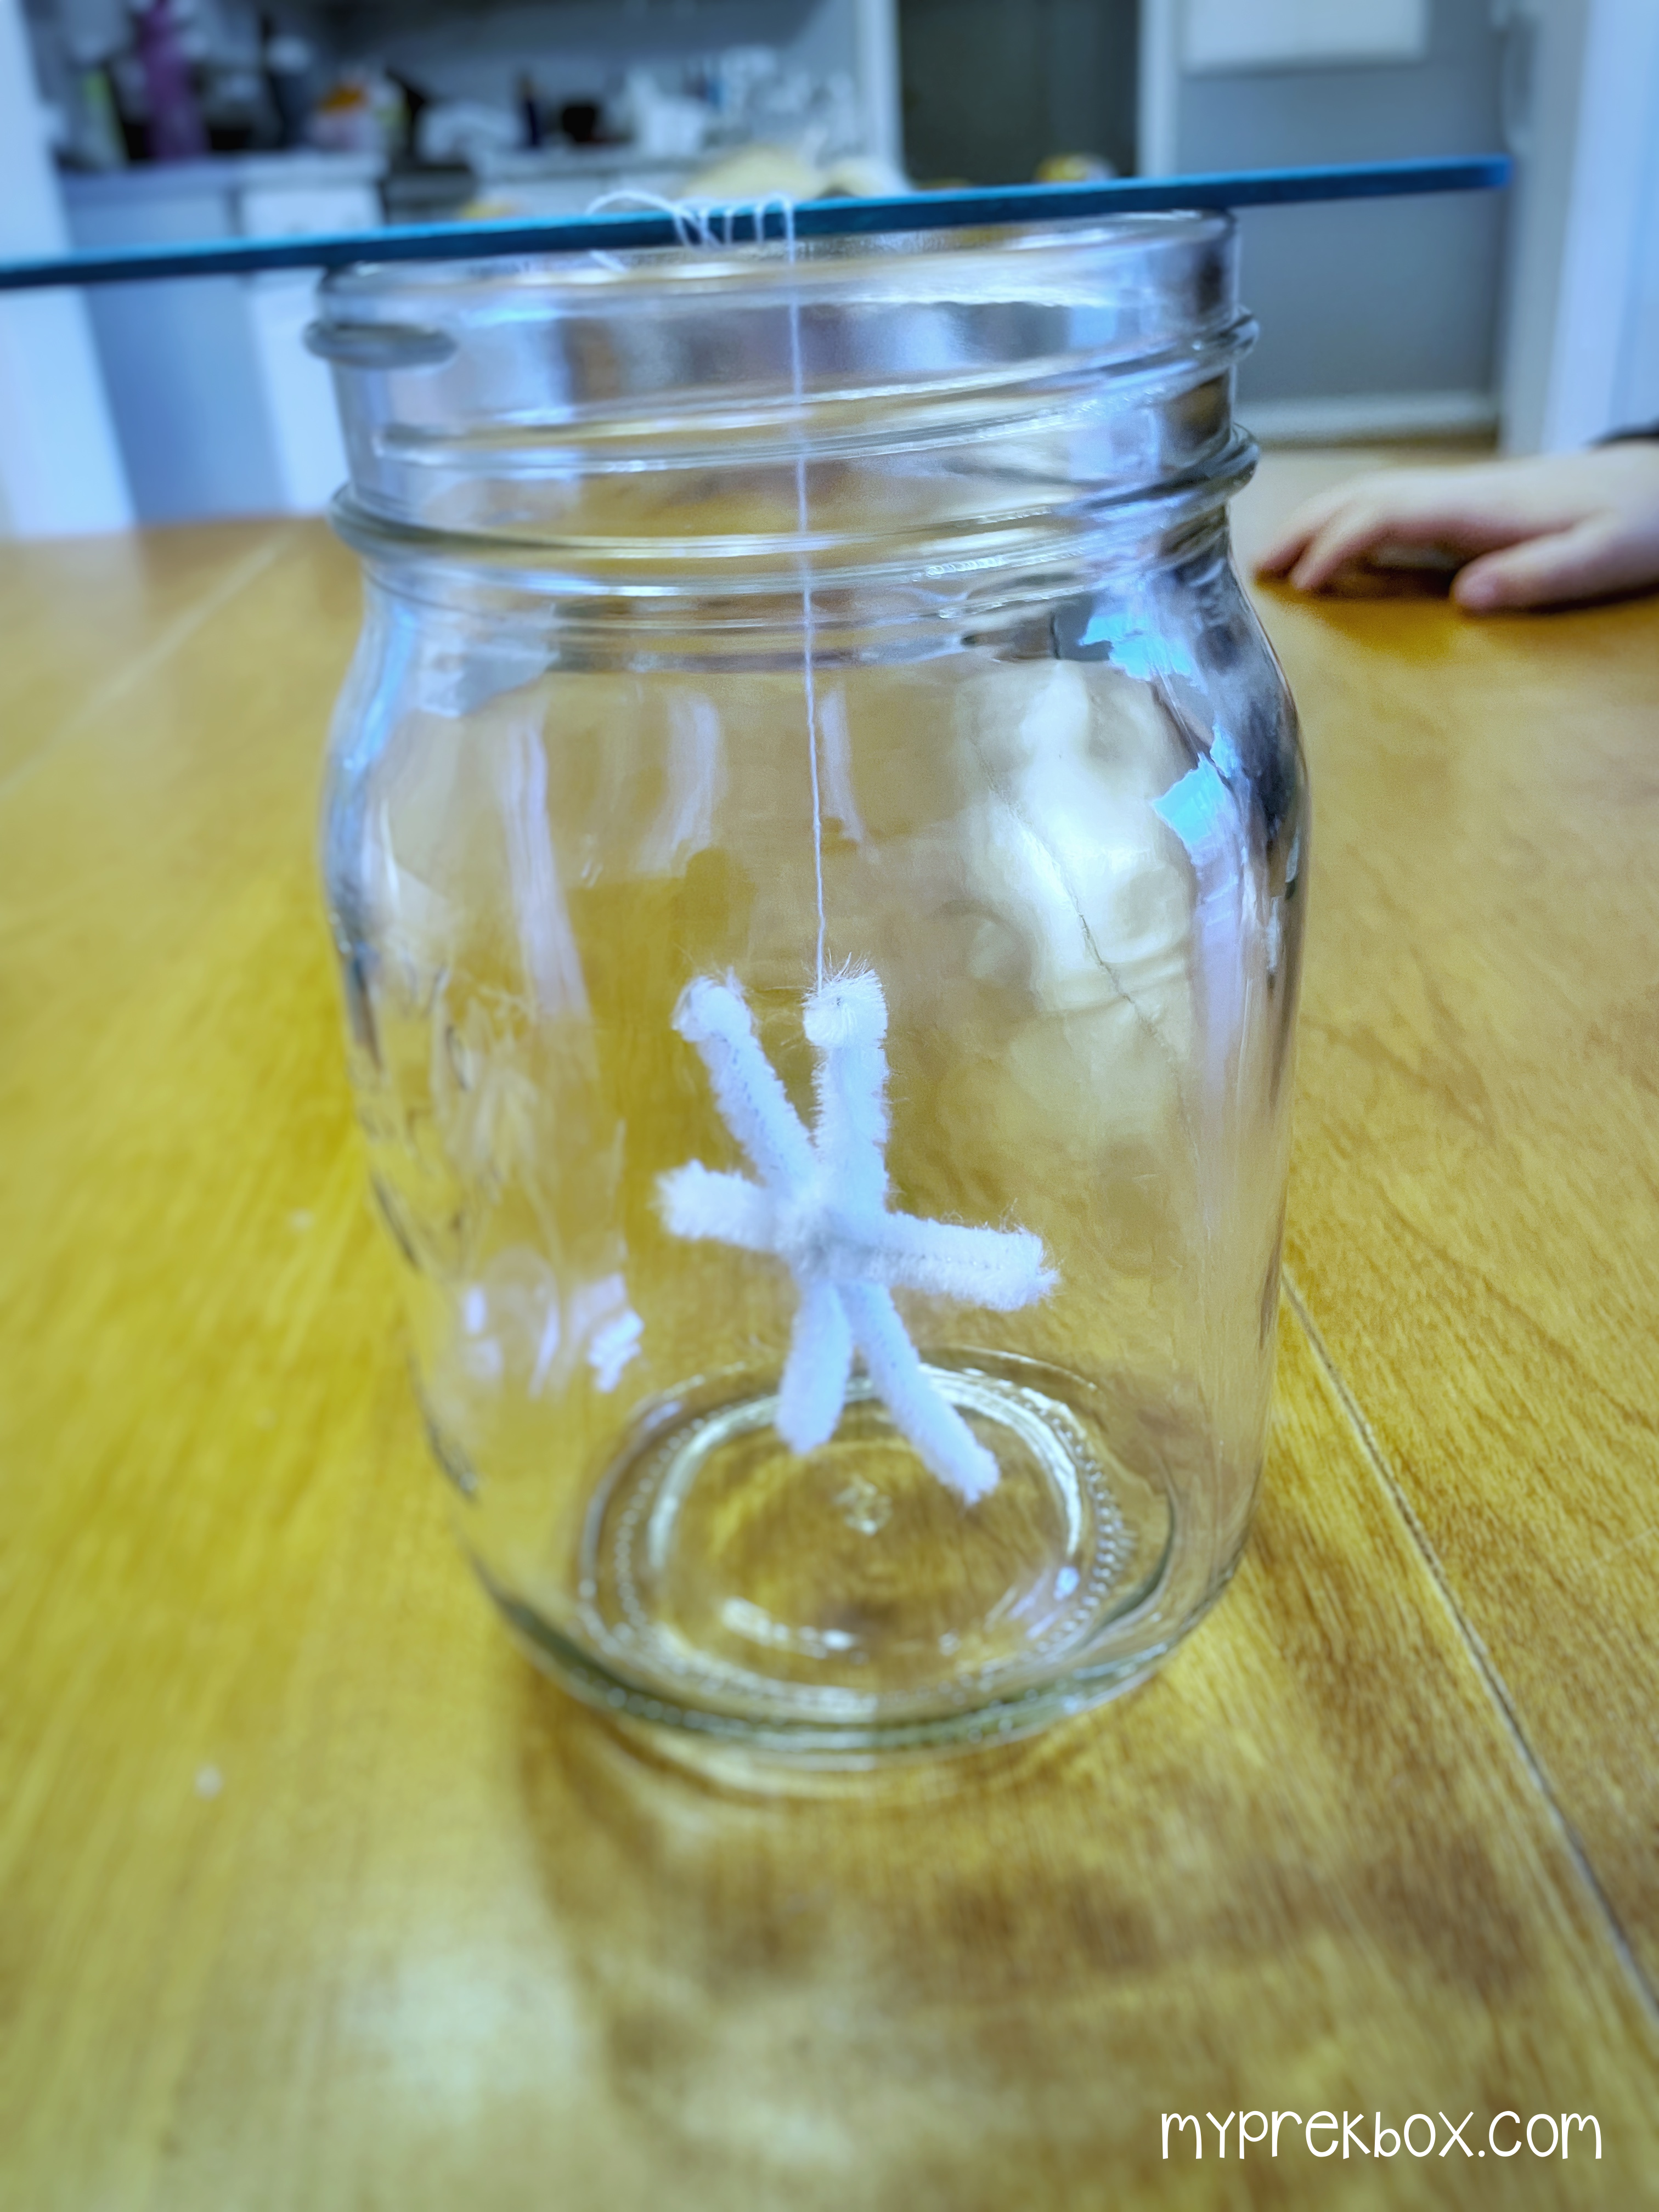
Cut your pipe cleaners into thirds. Take two pieces and create an x shape and then take the third piece and wrap it around the middle creating a snowflake shape. You may repeat this process until you’ve created the desired amount of snowflakes. Tie a string onto the pipe cleaner snowflake and then put it in the jar to make sure it fits inside without touching the sides or bottom, if it does just trim the ends until it fits nicely. Remove the snowflake and tie the other end of the string to your popsicle stick or pencil then move on to step 3.
Step 3 Create your crystal solution
This recipe is designed for a pint-sized mason jar. Double the ingredients for a quart-sized jar.
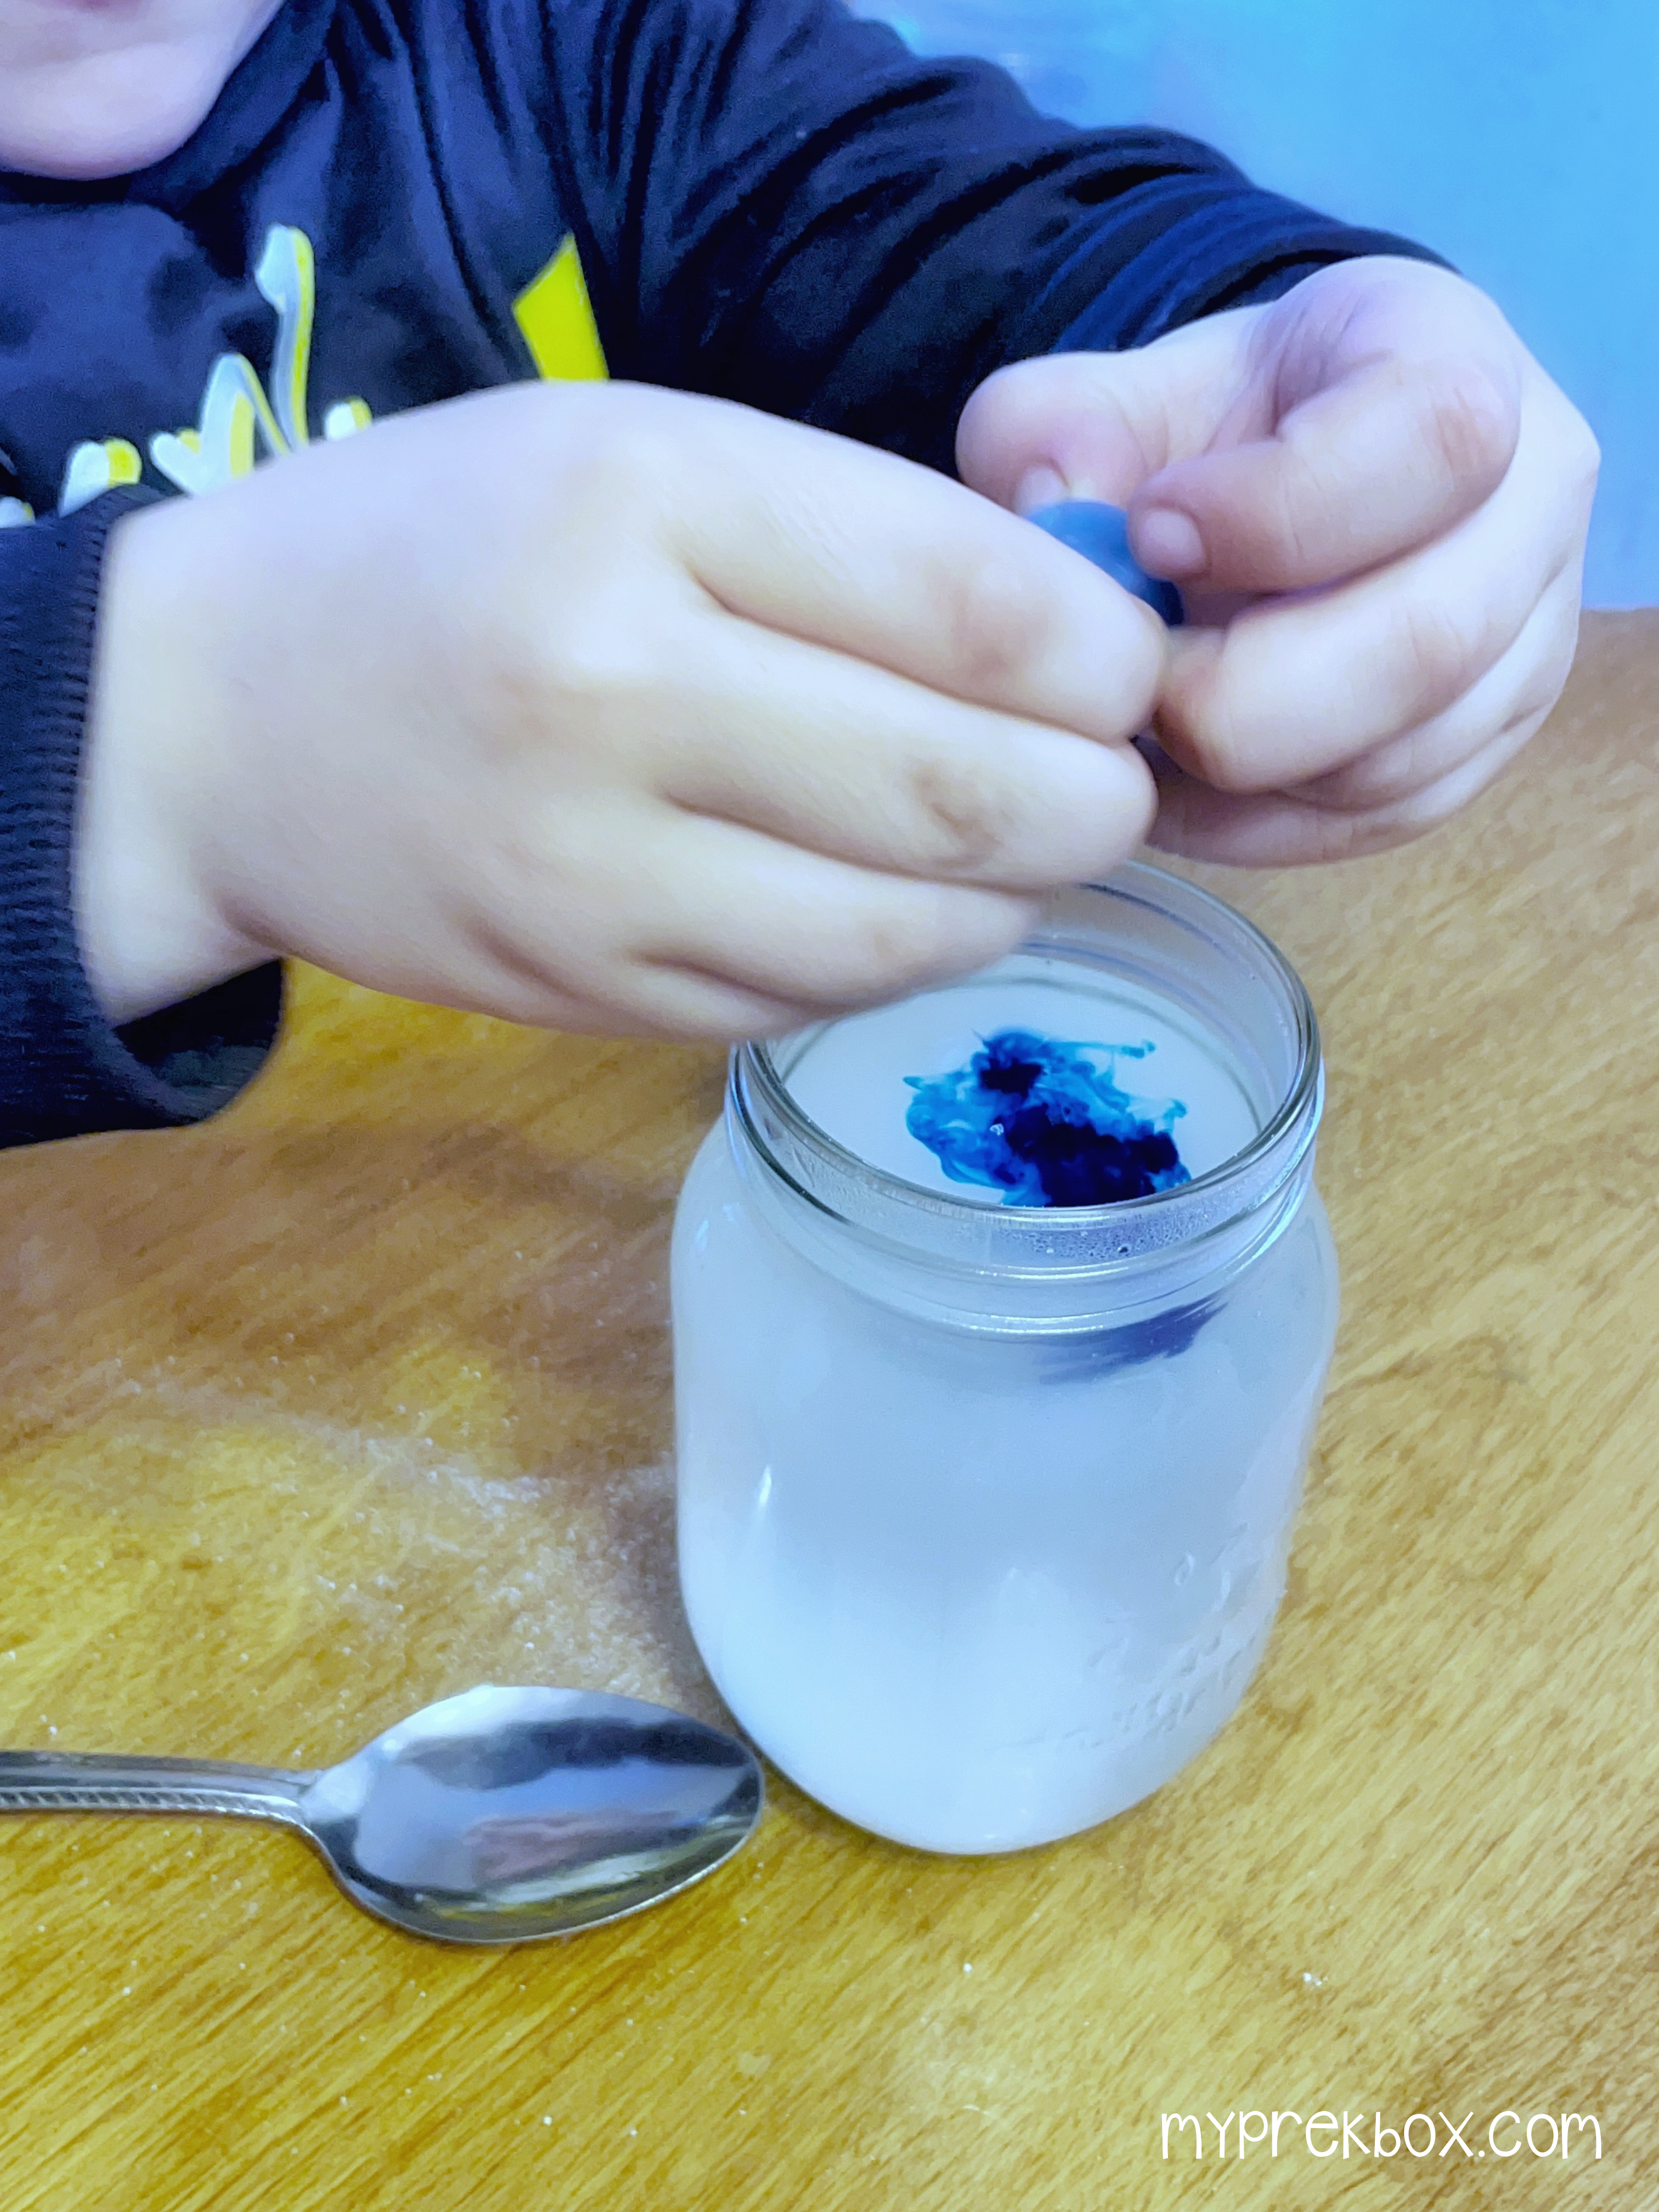
Fill your jar with boiling water and add some food coloring if you’re using any. Then add 6 Tbsp of Borax to the jar. Stir your solution with a spoon and add the snowflake to the jar, making sure it rests in the center of the jar and doesn’t touch any sides or the bottom. Let it sit overnight.
Step 4 Remove the snowflake from the jar
Your kids will awaken to see the results of their winter science experiment! After the snowflake has sat in the jar overnight, you can carefully remove it and place it on a paper towel to dry. Once it’s dry enjoy the beauty of your science experiment with your new crystal snowflakes!
Science and learning
Growing crystal snowflakes is a great STEM activity for preschoolers. This is a simple science experiment that preschool-aged kids can understand.
The science behind this borax crystal experiment is easy to explain.
-
Borax crystals form when a supersaturated liquid (liquid containing more borax than liquid) cools.
-
Hot water can hold more powder so when the liquid becomes cool, the extra powder clings together and forms a crystal.
-
The crystals are hard and square-shaped.
Spend time talking to your kids, asking them why they think the crystals formed, and if they know what shape the crystals formed.
Let's Connect!
We absolutely LOVE seeing your preschoolers learning through play! Please take photos and videos of your child's finished product or them making their wrapping paper and share them with us on Facebook and Instagram!
Also, if you aren't already, be sure to follow us on Facebook and Instagram for more fun activities to do at home with your little ones!
Curious about My Pre-K Box?
|
Everything you need to explore, learn, create, and play!
My Pre-K Box is the best subscription box for kids ages 3-5!
|
